
| 일 | 월 | 화 | 수 | 목 | 금 | 토 |
|---|---|---|---|---|---|---|
| 1 | 2 | 3 | 4 | 5 | ||
| 6 | 7 | 8 | 9 | 10 | 11 | 12 |
| 13 | 14 | 15 | 16 | 17 | 18 | 19 |
| 20 | 21 | 22 | 23 | 24 | 25 | 26 |
| 27 | 28 | 29 | 30 |
- 우분투
- 기초
- 데이터 베이스
- C++
- 반복문
- 마리아 DB
- 리눅스
- JungOl
- 오늘도 우라라
- ubuntu
- 토픽
- 환경설정
- LeetCode
- 등차수열
- 오늘도 우라라 공략
- mariaDB
- 그랑사가
- Linux
- MSG
- topic
- publish
- ros
- mysql
- while
- C언어
- 오늘도 우라라 펫
- 프로그래밍
- Subscribe
- install opencv-4.4.0 on ubuntu 22.04
- 오늘도 우라라 펫 공략
- Today
- Total
하루의 쉼터
[Raspberry Pi 4] 라즈베리파이4 ubuntu 18.04 설치 본문
cdimage.ubuntu.com/ubuntu/releases/18.04.4/release/
Ubuntu 18.04.5 LTS (Bionic Beaver)
Select an image Ubuntu is distributed on two types of images described below. For ARM hardware for which we do not ship preinstalled images, see ARM/Server/Install for detailed installation information. A full list of available files, including BitTorrent
cdimage.ubuntu.com
1. Ubuntu Releasses 사이트에 접속
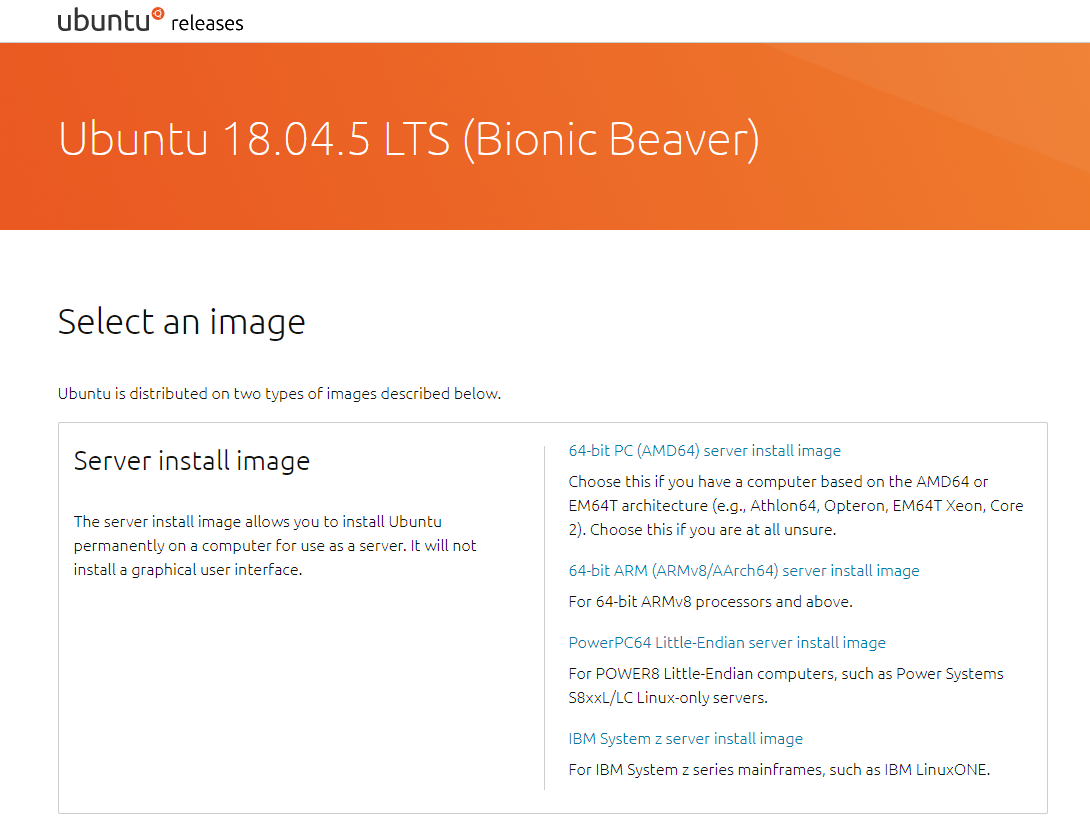
2. 스크롤을 하여 원하는 버전을 탐색 후 저장

* 필자는 라즈베리4 Ubuntu 18.04가 필요 하였음.
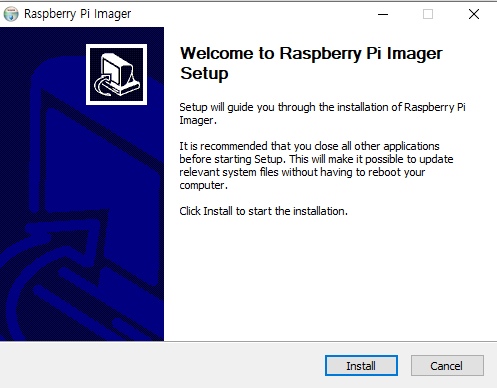
3. raseberry pi imager 을 사용하여 굽기.
* 다른 툴 사용 무방 추천 : balenaEtcher, win32image
ubuntu.com/download/raspberry-pi
Install Ubuntu on a Raspberry Pi 2, 3 or 4 | Ubuntu
Ubuntu is an open-source operating system for cross platform development, there's no better place to get started than with Ubuntu on a Raspberry Pi.
ubuntu.com

3-1. 화면 접속

3-2. 다음과 같이 자신이 사용하는 OS 기준으로 다운

3-3. Raseberry PI imager 설치

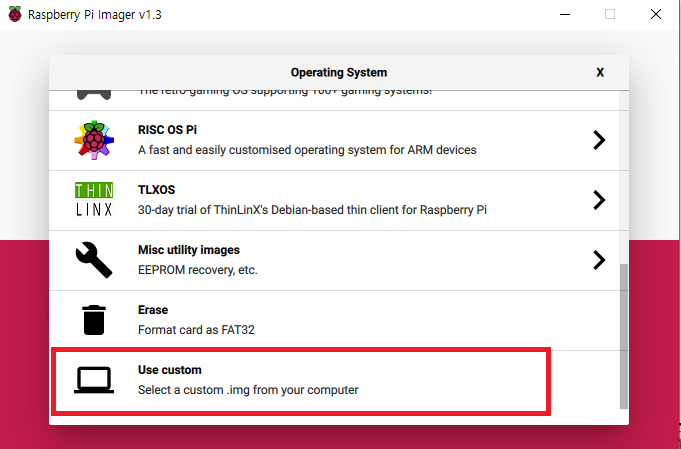
3-4. Operating System 클릭

3-5. Use Custom 클릭
3-6. 사용할 sd카드 선택

포맷 진행하여야하므로 안했다면 이전글 참조.
2020/12/11 - [프로그래밍 - 환경설정/HardWare] - [HardWare] SD 카드 포맷, 장치가 안보일때
[HardWare] SD 카드 포맷, 장치가 안보일때
| SD 카드 포맷, 장치가 안보일때 1. 사용하던 SD 카드의 장치가 보이지 않는 경우, 혹은 사용할 디스크 장치가 안보이는 경우 2. 내 PC – 관리 3. 컴퓨터 관리 – 저장소 – 디스크 관리 4. dis
changun516.tistory.com
2020/12/11 - [프로그래밍 - 환경설정/HardWare] - [SD카드 포맷] SD CARD Formatter 설치
[SD카드 포맷] SD CARD Formatter 설치
| SD CARD Formatter 필요에 따라 SD CARD를 포맷해야 하는 경우가 있다. * 필자에 경우 라즈베리 파이를 사용하기 위해 포맷을 진행하였다. 2020/12/11 - [프로그래밍 - 환경설정/HardWare] - [HardWare] SD 카..
changun516.tistory.com
3-7. 이미지 굽기 진행

3-8. 성공

4. 준비한 보드에 SD 카드 삽입.

5. 모니터를 통해 출력 확인
Ubuntu 18.04.5 LTS ubuntu tty1
ubuntu login:
* 초기 아이디와 비밀번호는 ubuntu / ubuntu
6. 비밀번호 설정

7. 접속

8. 네트워크 설정
8-1. 자신의 아이피 확인
ifconfig
8-2. netplan 수정
cd /etc/netplan
ls
* 백업
sudo cp 50-cloud-init.yaml 50-cloud-init.yaml.bak
8-3. yaml 파일 내용 수정
addresses: [자신의 아이피/24]
gateway4: 192.168.0.1
nameservers:
addresses:[8.8.8.8]
8-4. 적용 후 확인
sudo netplan apply
hostname -I
9. 비밀번호 설정
sudo passwd root
10. 업데이트
sudo apt update
11. ssh 설치
sudo apt-get install ssh
12. ssh 설치 진행
sudo systemctl enable ssh
sudo systemctl start ssh
sudo systemctl status ssh
13. vim 설치

14. lrzsz 설치

15. GUI 설치
sudo apt-get install ubuntu-desktop
16. GUI 설치 확인

'프로그래밍 > HardWare' 카테고리의 다른 글
| [Raspberry Pi 3] 라즈베리파이 3 b+ Ubuntu-mate 18.04 설치 (0) | 2020.12.19 |
|---|---|
| [HardWare] 랜선 제작 방법 (2) | 2020.12.18 |
| [Raspberry Pi] raspi-config 라즈베리 환경설정 (0) | 2020.12.17 |
| [SD카드 포맷] SD CARD Formatter 설치 (0) | 2020.12.11 |
| [HardWare] SD 카드 포맷, 장치가 안보일때 (0) | 2020.12.11 |


